
Getting through the Google AdSense approval process is the first major milestone for most new bloggers. This complete guide walks you through every step — from setting up your blog to receiving your approval — so you can start monetizing your content with confidence.
What is Google AdSense?
Google AdSense is an advertising platform by Google that allows website owners to earn money by displaying ads on their websites or blogs.
Google AdSense is Google’s advertising platform that allows website owners and bloggers to earn money by displaying relevant ads to their visitors. When a visitor views or clicks an ad on your site, advertisers pay Google, and Google shares a portion of that revenue with you as the publisher.
For most beginner bloggers, AdSense is the first real source of passive online income. Google AdSense approval process requires no direct selling, no inventory, and scales automatically as your traffic grows — which is exactly why the Google AdSense approval process is so important to get right from the start.
Why AdSense Approval is Important
Unlike many ad networks, AdSense has strict quality requirements. Google manually reviews every application to ensure that only websites with genuine, helpful content are approved. This benefits everyone — advertisers get quality placements, readers get relevant ads, and publishers earn consistent revenue.
Understanding the Google AdSense approval process step by step means you can prepare your blog correctly before you apply, saving weeks of back-and-forth rejection cycles.
For many bloggers, AdSense is the first source of online income.
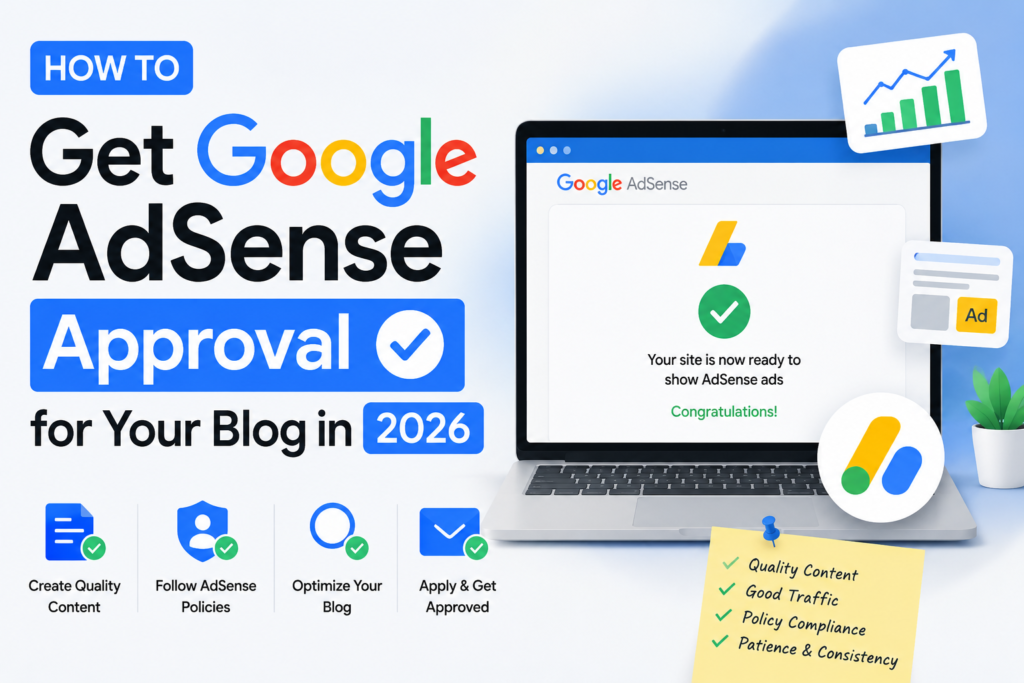
Step-by-Step AdSense Approval Process
Step 1: Choose a Blogging Platform
Start by creating your blog on a reliable platform. Blogger is Google’s own free platform and is perfectly compatible with AdSense. WordPress (self-hosted) gives you more control and is recommended if you want a professional, long-term blogging presence. Both can get AdSense approval — the key difference is control and flexibility.
Step 2: Select a focused niche
A niche is the topic category your blog focuses on. Google AdSense approval process is significantly easier when your blog has a clear, consistent topic. Choose a niche with genuine search demand and real opportunities to help readers. High-performing niches include technology, personal finance, health, education, programming, AI tools, and blogging itself. Avoid publishing random mixed content — a focused blog signals credibility and expertise to both Google and advertisers.
Best niches:
- Technology
- Blogging
- Education
- Finance
- Programming
- Health
- AI Tools
Avoid random mixed topics.
Step 3: Buy a Custom Domain
A custom domain is one of the most impactful things you can do for your Google AdSense approval process. A domain like yourblog.com appears far more trustworthy than yourblog.blogspot.com. Popular extensions like .com, .net, and country-specific domains like .in all work well. Custom domains improve branding, build reader trust, and signal to Google that you are serious about your website.
- Tip: A custom domain is not technically mandatory for AdSense approval, but it significantly improves your chances and is worth the small annual investment.
Step 4: Use a professional, mobile-friendly theme
Google evaluates your website design as part of the AdSense approval process. Your theme should look clean, load fast, and work perfectly on mobile devices. Avoid themes with broken layouts, excessive animations, or heavy elements that slow your page speed. A well-designed blog communicates trustworthiness — which Google looks for when reviewing applications
Avoid:
- Broken layouts
- Heavy themes
- Too many animations
Step 5: Create Essential Pages
These pages are extremely important for AdSense approval.
Missing essential pages is one of the most common reasons for rejection. Before applying, make sure your blog has all of the following:
- About us page — Explain who you are and what your blog is about.
- Contact us page — Include an email address or contact form.
- Privacy policy page — This is mandatory. Explain how you handle user data, cookies, and advertising. You can use a free privacy policy generator.
- Disclaimer page — Optional but recommended, especially for finance or health blogs
Step 6: Publish Quality Articles
Content quality is the single most important factor in the Google AdSense approval process. Every article you publish should be:
- 100% original — never copy-paste from other websites
- Genuinely helpful — solve a real problem for your readers
- Well-structured — use headings, short paragraphs, and bullet points
- Adequately long — aim for 800 to 2,000 words per article
Publish a minimum of 15 to 20 quality articles before applying. Thin content with fewer articles is one of the leading causes of rejection. AI-assisted content is acceptable as long as it is useful, original, and written for real readers — not AI-generated spam designed to game search engines.
Warning: Never use copied articles, spun content, or low-quality AI-generated filler. Google’s reviewers can identify these immediately.
Recommended Content Strategy
Publish:
- Minimum 15–20 quality articles
Ideal article length:
- 800–2000 words
Step 7: Optimize ON Page SEO Basics
Proper SEO helps Google understand and index your content, which supports both organic traffic and Google AdSense approval process. Key on-page SEO practices include:
- Adding your focus keyword to the SEO title and meta description
- Including the focus keyword in your URL (slug)
- Using the focus keyword in the first paragraph of your content
- Using the keyword naturally in H2 and H3 subheadings
- Maintaining approximately 1% keyword density
- Adding descriptive alt text to images (including your focus keyword in at least one)
- Adding internal links connecting related articles on your blog
- Including at least one external link to a reputable source
Step 8: Add Navigation Menus
Your website should have:
- Header menu
- Categories
- Search option
- Footer links
This improves user experience.
Step 9: Ensure Mobile Friendliness
Most web traffic today comes from mobile devices. Your blog must display properly on smartphones and tablets, with readable text and fast load times. Google prioritizes mobile-friendly websites in both search rankings and AdSense approval decisions.
Google also prefers mobile-friendly websites.
Step 10: Improve Website Speed
Page speed affects both SEO and AdSense approval. A slow website signals poor quality to Google. To improve speed:
- Compress all images before uploading
- Use a lightweight, fast-loading theme
- Remove unnecessary plugins and widgets
- Enable caching if using WordPress
Step 11: Connect Google Search Console

Google Search Console is a free tool that helps Google index your pages faster and lets you monitor your blog’s performance in search results. Add your website, verify ownership, and submit your sitemap. Your sitemap (usually at yourdomain.com/sitemap.xml) tells Google about all your published pages so they can be crawled and indexed.
Step 12: Submit Sitemap
Before applying for Google AdSense approval process confirm your pages are being indexed. Search for site:yourdomain.com in Google. If your articles appear in the results, Google is successfully indexing your content. If nothing appears, troubleshoot your sitemap and indexing settings in Search Console first.
Example:
yourdomain.com/sitemap.xml

Submit it inside Google Search Console.
Step 13: Check Google Indexing
Search in Google:
site:yourdomain.com

If your pages appear, indexing is working.
Step 14: Remove Copyright Content
In Google AdSense approval process, Copyright violations will result in an automatic rejection — and can lead to your account being banned entirely. Never use copied articles, pirated downloads, or images you do not have permission to use. Replace any such content with original writing, your own screenshots, and copyright-safe images from sources like Unsplash or Pexels.
Step 15: Apply for Google AdSense
Visit:

Once your blog meets all the above requirements, visit the Google AdSense signup page and complete the following steps:
- Sign in with your Google account
- Enter your website URL
- Select your payment country
- Agree to the AdSense terms and conditions
- Submit your application
Step 16: Add AdSense Verification Code
After submitting your application, Google will provide a verification code. You must paste this code into your website’s HTML either manually or through your platform’s settings before Google can complete its review. Without this code, the review cannot proceed.
This helps Google verify ownership.
Step 17: Wait for Review
Review time may take:
- A few days
- Up to 2 weeks
Google checks:
- Content quality
- Website design
- Policy compliance
- User experience
Common Reasons for AdSense Rejection
- Low-quality or thin content — Articles that are too short, unhelpful, or poorly written
- Copied or plagiarized content — Any content taken from other websites
- Insufficient content — Fewer than 15 quality articles published
- Missing essential pages — Especially a privacy policy page
- Poor website design — Broken layouts, too many ads, or messy navigation
- Policy violations — Adult content, illegal downloads, or misleading information
- Pages not indexed — Google cannot find your content
- Zero keyword density — Content with no clear SEO structure or focus keyword
Tips to Increase Approval Chances
- ocus every article on solving a specific, real problem for your readers
- Publish consistently — even after applying, keep adding new content
- Use internal links to connect your articles and reduce your bounce rate
- Keep your blog clean — avoid too many third-party widgets or pop-ups before approval
- Use short paragraphs, headings, and bullet points to improve readability
- Add your focus keyword to the title, meta description, URL, first paragraph, and at least one subheading
- Aim for 1% keyword density — not 0%, not stuffed
- Add internal links within every article (at least 2–3 per post)
How Long Should You Wait Before Applying?
A common mistake is applying too early. Wait until:
- You have at least 15 to 20 quality articles published
- Your website looks clean and professional
- Your pages are confirmed as indexed in Google
- All essential pages are in place
- Your SEO basics are set up correctly (focus keyword, meta description, URL structure)
Patience at this stage pays off. A well-prepared application gets approved much faster than a rushed one.
Does Traffic Matter for AdSense?
There is no official minimum traffic requirement for the Google AdSense approval process. Some websites get approved with as few as 20 to 50 daily visitors. What Google evaluates is content quality, policy compliance, and overall website credibility — not raw visitor numbers.
Can Blogger Blogs Get AdSense Approval?
Yes. Many successful blogs running on Google’s Blogger platform have been approved for Google AdSense approval process. Adding a custom domain significantly improves your chances even on Blogger. Follow the same content and SEO requirements outlined in this guide.
Can AI Content Get AdSense Approval?
AI-assisted content can be approved by AdSense — but only if it is genuinely helpful, original, and written for real readers. AI-generated spam content, thin articles, or content that fails to provide real value will be rejected. Use AI as a writing assistant, not as a replacement for thoughtful, research-backed content creation.
FAQs
How many articles do I need for Google AdSense approval?
The recommended minimum is 15 to 20 high-quality articles. There is no official number, but this is the range most successfully approved blogs have when they apply.
Is a custom domain required for AdSense approval?
It is not technically mandatory, but it is strongly recommended. A custom domain improves trust, branding, and approval chances significantly.
How long does the Google AdSense approval process take?
Typically a few days to two weeks. In some cases it can take longer if Google requires additional review.
What is keyword density and why does it matter?
Keyword density is the percentage of times your focus keyword appears relative to the total word count. Aim for around 1% — for an 800-word article, that means using your focus keyword roughly 8 times naturally throughout the content.
Does website traffic affect AdSense approval?
No. Content quality and policy compliance matter far more than traffic volume during the approval process.
What happens if I get rejected?
Google will tell you the reason for rejection. Fix the identified issues, improve your content and website, wait a few weeks, then reapply. Most blogs that get rejected on the first attempt succeed after addressing the feedback.
Final Thoughts
The Google AdSense approval process becomes straightforward once you understand what Google is actually looking for: a real website with genuine content that genuinely helps readers. Focus on quality articles, clean design, proper SEO (including your focus keyword in the title, meta description, URL, and content), essential pages, and good mobile performance.
Set up your focus keyword correctly, fix your internal linking, and ensure your keyword density is around 1% — these are the quick wins that will resolve most SEO errors before you even apply.
Take your time, follow each step in this guide, and your approval is a natural result of the foundation you have built.